Thursday, February 2, 2017

SPRING-SUMMER NAIL ART TRENDS 2017


SPRING-SUMMER NAIL ART TRENDS 2017


Hello beauties! Whats up? My name is Val. In my channel you will see a variety of contents from DIY, to nail art, thrifting transformation clothes , customizing iphone case, review of different apps and products and more. So if you like this contents hit the subscribe button.
The topic I chose for this video is to talk about nail art trends for spring- summer season. I'm not a nail artist but what is common to most of my contents is drawing that is my greatest passion, so the nail for me is like a canvas where I am free to express my creativity. 

As I mentioned in a blog last year the 2016 trends were quite fancy, more floral nail art, geometric patterns  with bold colors. Instead nail art trends for spring-summer 2017 we have seen in fashion shows are more minimal and glam.
so I chose some nail art of several fashion shows.


-  Mugler - Marian Newman was inspired to Star Wars looking to the future, in fact she used a navy base then put on the gold nail polish to a corner of the nail. 

 - Ungaro  - for this season the focus is on the structure that is more polished. In fact, the Newman recommended to apply a pink nail polish first and then a a glossy top coat polish to create a minimal and clean look.


-  Emilio De la Moreno - was designed by Ami Roads each nail is half glossy and the other opaque.


-  Gareth Pugh - the artist Marian Newman thought 5 nail art ranging from purple to black that reflect the collection


-  Phillip Lim- nail The nail artist Sally Hansen to give dynamism that reflects the collection used metallic colors with a three-dimensional texture with youthful and sophisticated effect.


-  Rodarte nail - glamorous and sophisticated nail art for the fashion shows Rodarte that uses glitter in the cuticles to outline the nail rather than scintillating nail polish.


- Jeremy Scott - resulted in parade a nail art with perfect geometry and pop effect that recalls the 80's.


- Cushnie et Ochs.- The classic French manicure has been revisited in the parade of Cushnie et Ochs so white tips are diagonal to form a sharp shape. This is a trick to make the nail  look even more long .


-Novis - The Manicure Novis is designed by Alicia Torello who made a nail art in key modern pop. In a pale pink base it matched two shades of blue.


A trend  this season is the color splash

-Alicia + Olivia - if we see closely is clear with the dark green of the patterns created flowy.


-  Libertine- of which responsable CND that not only nails are long, but also thick using the 3 dimensional applications such as jewels, beads, pink fuzz and puppy faces.


-  Philipp Plein - the bedazzled nails were stuble.little golden jewels were camouflaged by an all-over gold polish


- Christian Siriano, we saw this Expressed with tiny, lovely black and white designs drawn along the edge and sides of the nails, over a teal-colored base.


-Nikole Miller -The stripey nail design choice for the Nicole Miller show was all about crosses in contrasting shades of green and red, painted over a coffin nail, another of the season's trends.


Which nail art you liked the most and what do you want me realize for you?

I hope the video was to your liking if it is so put a thumbs-up. I'll see you very soon bye bye.


Tuesday, January 10, 2017

9 fashion trends 2017


9 fashion trends 2017

Hi Beauties! Have you already looked at the new fashion trends in 2017? As one knows the parades were held some time ago. Of course, the style varies from one designer but what unites these are 9 trends.


1) bare shoulder: so like last year continues to become even more popular  the bare shoulder. Then we will find in stores mesh dresses or shirts with an asymmetric cut so as to leave a bare shoulder.


2) all the shades of blue: in fact the color of 2017 is the green Greenery. Will became more popular both the blue and green regarding the clothing but also in makeup nail polish etc. But this year there will be all blue shades  who are comfortable both brunettes to blondes, choosing the shade that suits your complexion combining it with nude or white, especially in warmer weather.


3) white dress shirt: is a trend that never goes out of fashion for summer especially if it is combined with the right accessories that adapts to your style.


4) pink as you can: with the blue in parades we saw so much both in soft pastel pink hue but also the most intense fuchsia pink salmone. But the most used  this year are used Wheel Dagwood - old rose and Pink Yarrow - fuchsia .


5) ton sur ton: or creating outfits using the heads with tone on tone colors that add a chic look to the wearer. 


6)Parisian socks: still in vogue Parisian socks that give a romantic and sexy touch even more sloppy outfit .


 7) multiple bag – or 2 bags  in one that will go very fashionable especially in spring. Then space of the imagination to combine two different bags playing with lines, colors and sizes.


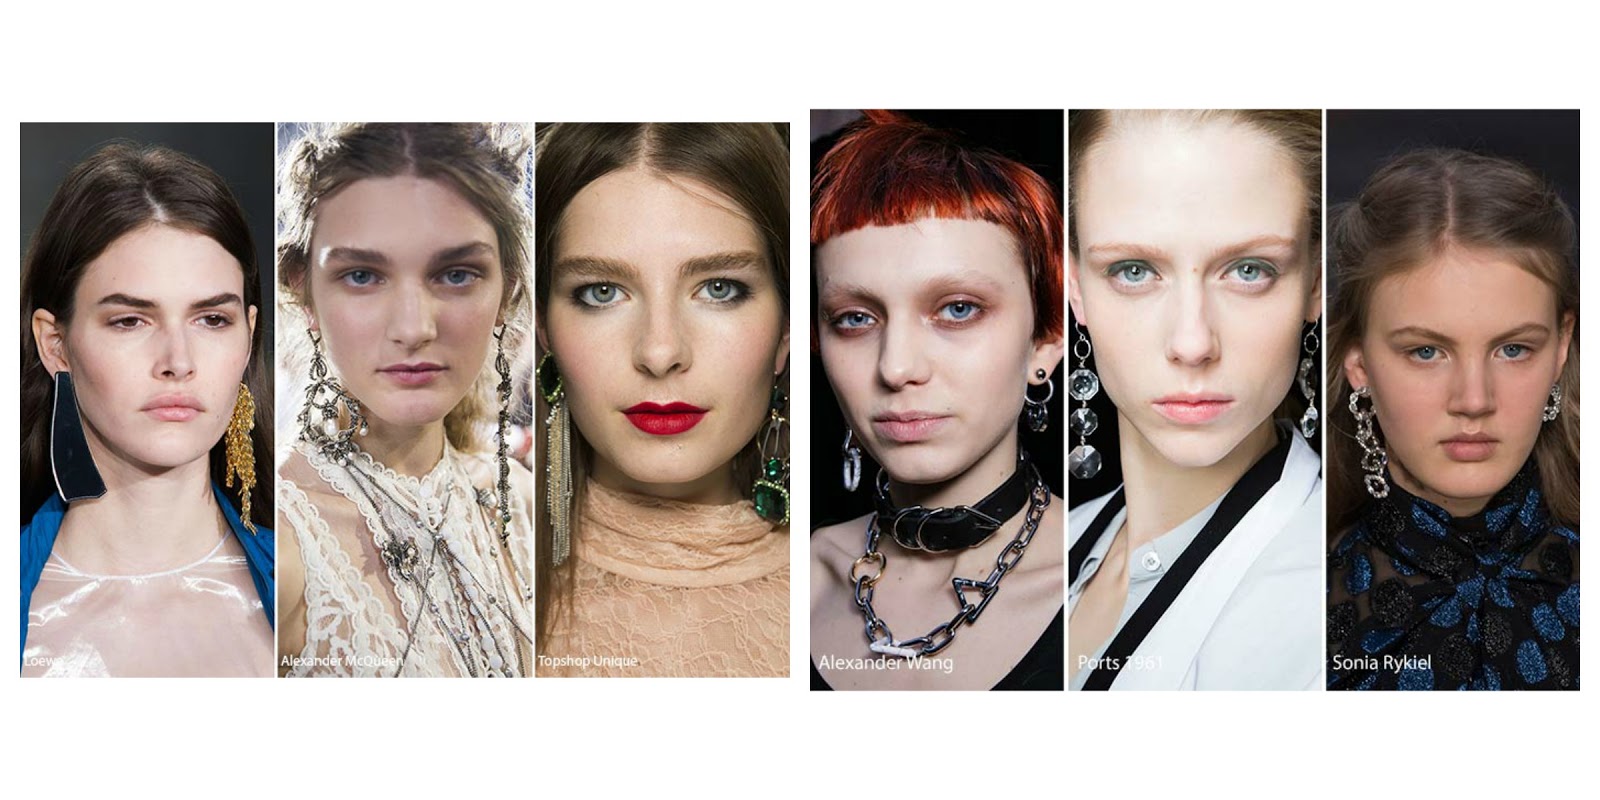
8) different pair of earrings: for those who dare more or  are in the mood to experiment along with multiple bags can try the combination of different earrings.


9) the bustier: that is worn under a blazer or over a shirt it does is highlight the waist and then the curves you have a physical pear or hourglass.


What do you think? Which of these trends suits to you and what would you buy?

Wednesday, December 7, 2016

DIY Christmas Room Decor! Easy Decorations For The Holidays! 2016

DIY Christmas Room Decor! Easy Decorations For The Holidays! 2016

Hello everyone! How is it going? Outside the showcases stores  and in every corner of the city is already feel the air of festivity, in fact just a few weeks at Christmas. Then it's time to decorate the room but do not want the usual colorful decorations that are not well for your room or are not your style. However the unique pieces of decoration you like the most cost a lot so I decided to do this tutorial with material that we have in our  house. This make festive and cozy room but still a minimal look. 

What is needed for this tutorial are: 
              1.sheets of A4 paper, 
              2.school glue, 
              3.white thread, 
              4.pencil, 
              5.cardboard, 
              6.scissors, 
              7.thin brush. 

What we're going to make is a garland to hang on your wall or you can use the ornaments to decorate the Christmas tree. We will make three elements: 2 ornaments and a string of stars, this DIY is very easy to accomplish in a couple of hours the garland is ready to hang it on the wall. But given that the Christmas spirit is to share and be with the one you love you can benefit  this opportunity to be in the company of your friends, boyfriend / girlfriend, or your family members so the time of realization of the garland is obviously halve. First we have to create  the ornament pattern that we want, I did freehand all the elements of the garland but you can download shapes ornaments that you like from the internet images.
 For the realization of an ornament serves a sheet of paper cut into four pieces and then fold together in half then trace above with pencil following the pattern. After cutting out put together three pieces folded  , applied the glue, put the white thread  as I show in the tutorial and then glued the fourth part and here the first ornament is made. same procedure is done for the second ornament that in apparence looks the same but in reality, is more rounded and squashed. For the stars after  cut out following the pattern , fold in half and then I do the same as I did for ornaments I take three pieces  folded  glue together not forgetting to use a long string enough to contain 3 stars. once finished there is nothing left to do but to assemble the garland leaving a space between an ornament and the other of 5-6 cm. if you want to keep them fixed in place then applied some glue.


I hope you have fun and enjoy the company of your loved ones because what you have create  is a magical atmosphere. If you liked this project diy put thumbs up to let me know that you want other christmas diy. If you want some more clarification about the diy feel free to write below the video I'll reply as soon as possible.
Share this video in your social networks if you can, so it can reach more people, that they may serve as room decor inspiration.
If you are new and have not yet subscribe  to my channel push the button  below and begins to be part of our community. Have a nice day everyone . See you soon Bye Bye ^^


Sunday, November 20, 2016

BLACK & GOLD - WINTER Nail Design


BLACK & GOLD - WINTER Nail Design


Hello beauties! What's up?? After a while of absence here I am with another tutorial, which is a nail art thought to winter. At this wintry design, I gave a dark chic interpretation, using black and gold colors with matte finish that make wonderful and unique look to the nail art.


Please, subscribe my channel, comment and like it. And don’t forget to watch my other nail art , DIY projects e review tutorials. ^^


Tuesday, October 18, 2016

FALL STAMPED NAILS - Bornprettystore


Hello beauties! there you go again with another tutorial nail art suitable for those people who like nail art, however, that are not very practical to draw mainly the left hand or the right if you're left-handed, then everything is resolved with stamper is very quick and easy . You can find the stamper anywhere but I would suggest you order them online on bornprettystore site.Some days ago I received some a mail by Born Pretty Store, an online store that sells lots of nail art tools and supplies. Born PrettyStore is regularly sending me some press samples to try and review.

The material that i used is: 
1. Stamper  


2.Rhinestones . 

 my opinion has not changed, indeed improved, the goods arrive well-packed intact and saw that reduced the so shipping times get faster.  I asked for you a discount code, then use my code 
10% off code:CACW10 ..and have 10% discount.
Usually their packages could take from 20 days to 2 months to arrive to Italy, but this time  I waited about 3 weeks to receive this package. Luckily everything went well and now I have  new products to try: a sheet of water decals, a stamper and rhinestones nail decorations. Today tutorial I’m talking you about the stamper, and  the rhinestones.
I was incredibly surprised to see how well this stamper works! It is very squishy and sticky (it needs to be primed with some nail polish remover) and it perfectly captures the designs. All the small details are captured and transferred on nails, as you can see in my nail art.to attack the stones that have a non-planar bottom you have to put two or more layers of enamel


I hope you enjoyed my review!

Subscribe and receive updates by email

Enter your email address:

Delivered by FeedBurner